
Outdoor Lighting Ideas: Design, Techniques, and Costs
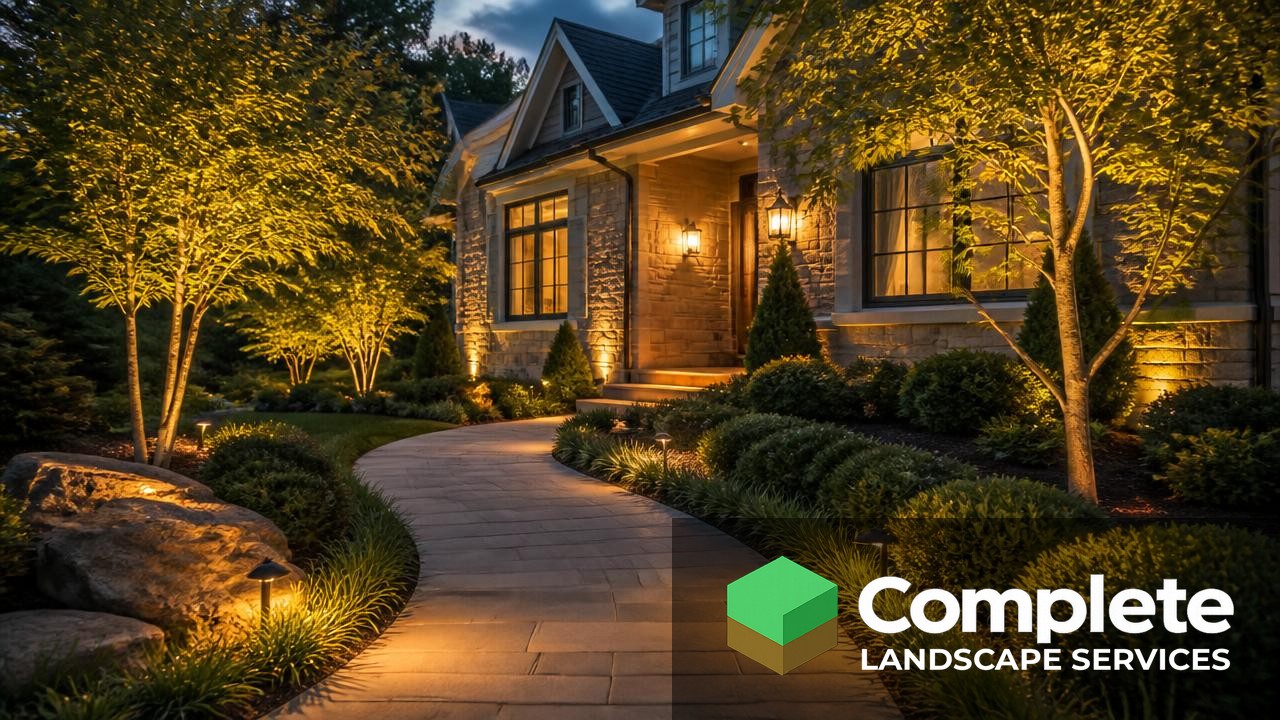
Table of Contents
Outdoor lighting is the landscape element with the best ratio of impact to cost. For a fraction of what a patio costs, a yard gains depth after dark, entrances become safe and obvious, and the architecture of the house and the form of mature trees become visible for the first eight hours of every evening. It is also the element most commonly done badly, usually by lining a path with identical fixtures at even spacing until it looks like an airport taxiway. This guide covers the core techniques, how to plan a layout, what low voltage systems involve, realistic costs, and the mistakes that make a well-lit yard look cheap.
What are the main landscape lighting techniques?
The core techniques are uplighting for trees and architecture, path lighting for safe circulation, wall washing for flat surfaces, silhouetting for strong plant forms, grazing for textured stone, and moonlighting, where fixtures placed high in a tree cast dappled light downward.
Uplighting creates the drama. A well-placed fixture at the base of a mature tree, aimed into the canopy, gives a yard the vertical depth that path lighting alone can never produce.
Moonlighting is the most natural looking technique available, because the light comes from above through foliage and reads like real moonlight rather than a fixture.
Mix at least three techniques. A layout with only path lights looks functional and flat, while a layout combining uplight, wash, and path light looks composed.
How do you plan a lighting layout?
Start with the approach and entry for safety, then add one or two focal features such as a specimen tree or stone facade, then fill gaps only where a dark spot actually creates a problem. Walk the property at night with a flashlight and test positions before committing to anything.
Prioritize by function first: steps, grade changes, the walk from parking to the door. Those fixtures earn their place regardless of how the composition turns out.
Choose two or three focal points, not ten. Lighting everything equally means nothing stands out, which is the most common failure in do-it-yourself layouts.
Light from multiple angles on important features. A single fixture flattens a tree, while two or three at different distances reveal its structure.
| Feature | Technique | Typical fixture | Placement |
|---|---|---|---|
| Mature tree | Uplight or moonlight | Directional well or bullet light | 2 to 4 feet out, or in canopy |
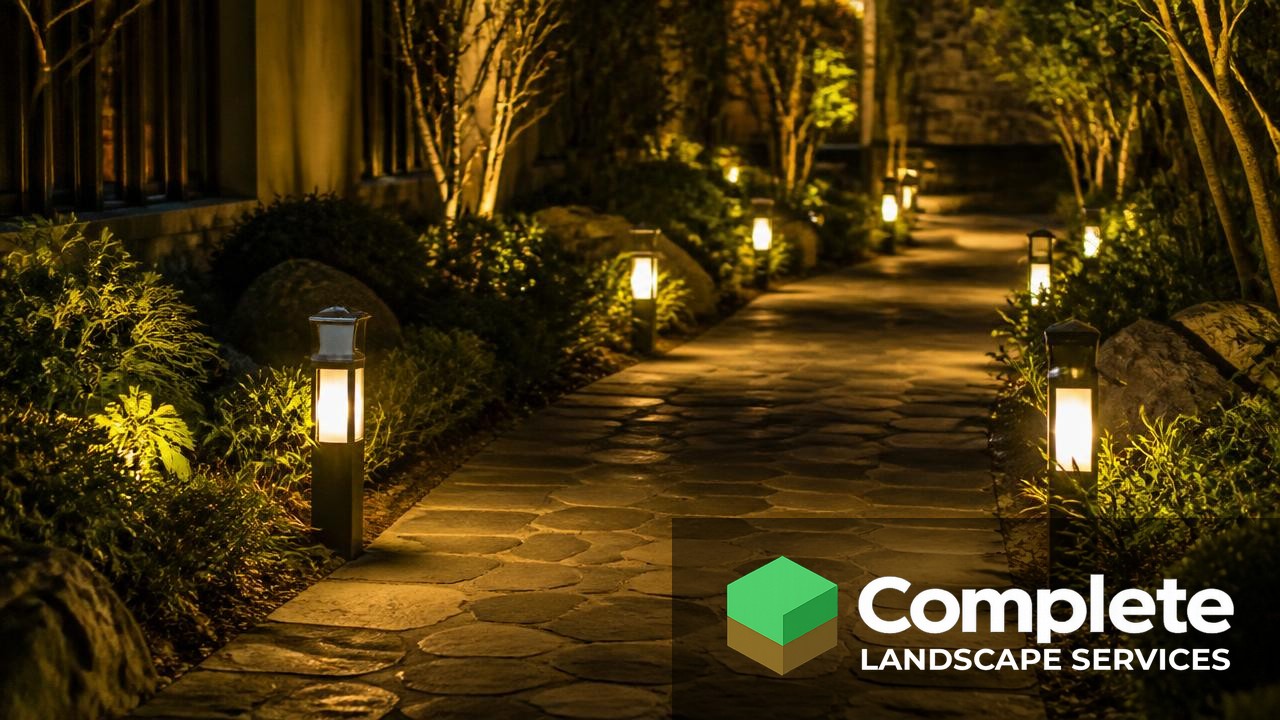
| Walkway | Path lighting | Shielded path light | Staggered, 6 to 10 feet apart |
| Stone facade | Grazing | Narrow beam bullet | Close to the wall, aimed up |
| Smooth wall | Wall washing | Wide beam flood | Set back for even spread |
| Steps | Task lighting | Recessed step or hardscape light | Riser or adjacent wall |
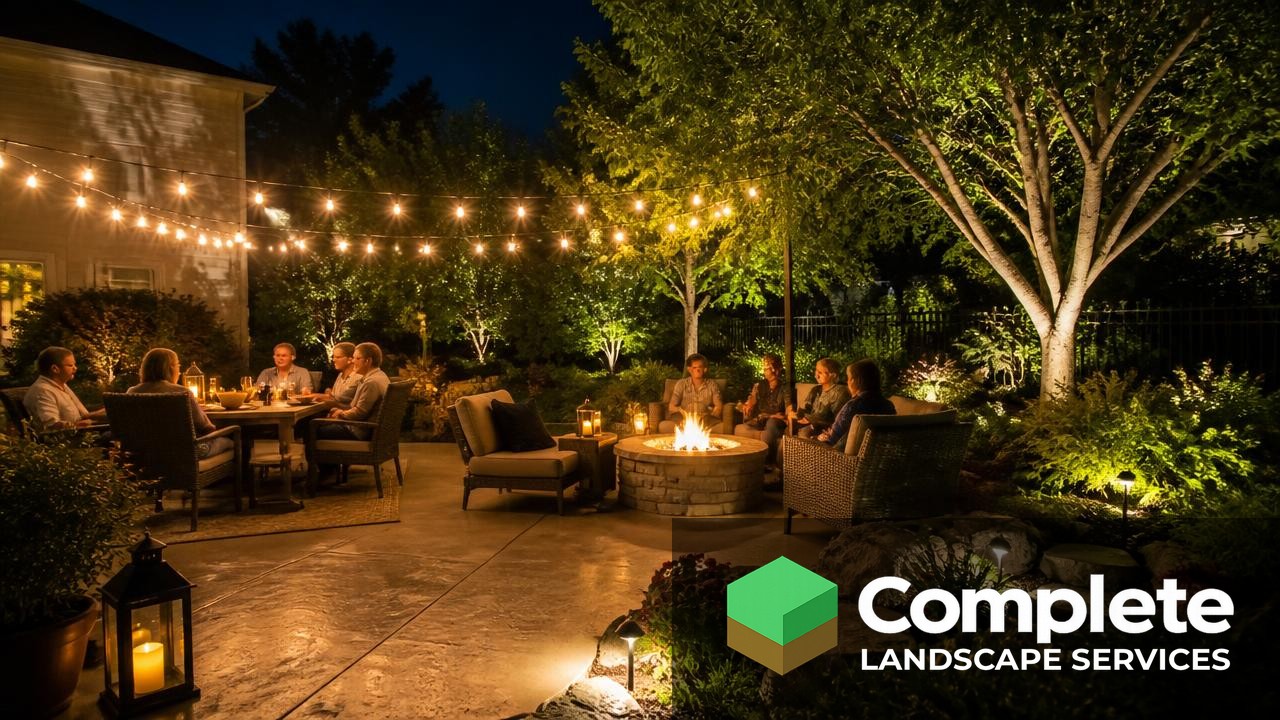
| Patio | Ambient | String lights, downlights | Overhead where possible |
Should you use low voltage or line voltage?
Low voltage at 12 volts is the standard for residential landscape lighting. It is safer to install, cable can be buried shallowly, fixtures are easily moved as plants grow, and in many jurisdictions it does not require an electrician for the fixture side of the work.
A low voltage system is a transformer connected to the house circuit, buried cable runs, and fixtures tapped along them. Sizing the transformer to about 80 percent of its rated capacity leaves headroom for later additions.
Voltage drop is the usual technical pitfall. Long runs on undersized cable leave the far fixtures visibly dimmer, which is solved with heavier gauge cable and hub-style wiring rather than one long daisy chain.
Solar fixtures are appealing and generally disappointing. Output is low, performance collapses in winter and shade, and batteries fail within a few years.

What does landscape lighting cost?
Professional low voltage installations typically run $2,500 to $6,000 for a front yard with 10 to 15 fixtures, and $6,000 to $15,000 for whole-property designs. Quality brass or copper fixtures cost $100 to $300 each, with the transformer, cable, and labor making up the remainder.
Fixture material is where longevity is decided. Brass and copper survive outdoors for decades, while cheap aluminium and plastic fixtures corrode and fail within a few seasons, which is why bargain kits rarely look good in year three.
A do-it-yourself installation with good components typically runs $800 to $2,500 in materials. The technical work is manageable; the design judgement is the harder part.
LED operating cost is negligible. A 15-fixture system running five hours a night costs a few dollars a month in most markets.
What colour temperature and brightness should you use?
Use 2700K warm white for planting and architecture, and stay under 3000K throughout. Most landscape fixtures need only 100 to 300 lumens, far less than people expect, and lower output with careful aiming always looks better than high output aimed casually.
Cool white above 4000K makes foliage look grey and gives a property a commercial security-lighting appearance, which is the opposite of the intent.
Keep colour temperature consistent across the system. Mixed temperatures are immediately noticeable and make a layout look assembled rather than designed.
Always shield the source. If you can see the bulb from the patio or the street, the fixture is aimed wrong, and glare will undo the work the rest of the layout is doing.
How do you control and maintain a system?
Use an astronomic timer or smart controller that tracks sunset by date, add zones so the patio and the front facade can run on different schedules, and inspect the system twice a year to re-aim fixtures, clean lenses, and clear plant growth.
Photocell-only controls turn everything on at dusk and leave it on all night. A timed off, usually between 11 p.m. and midnight, cuts runtime and light spill without reducing the effect when it matters.
Re-aiming is the real maintenance item. Plants grow into beams, mulch shifts fixtures, and frost heave tilts stakes, so what was perfect in June is frequently off by the next spring.
Plan lighting alongside any hardscape work, because sleeves and conduit run under a patio during construction cost almost nothing and are very expensive to retrofit. Our guides on hardscaping and patio installation cover the build sequence.
Frequently Asked Questions
The bottom line
Good landscape lighting is subtraction as much as addition. Light the entry for safety, pick two or three features worth looking at, keep everything at 2700K, shield every source, and leave the rest of the yard dark so the lit parts have something to contrast against. Do that with brass fixtures on a properly sized low voltage system and the result still looks right a decade later.
Thinking bigger picture? Read our full guide on How to Start a Landscaping Company, or visit our member directory to connect with vetted Complete Landscape Services professionals.
Need professional help?
Browse our member directory to find trusted Complete Landscape Services professionals for hardscaping and more.
Our Member Directory